
Integrating.NET Core with MongoDB in a Dockerized Environment
Hello, fellow developers! Whether you’re building a new project or integrating into an existing one, this guide is your starting point for a “hello world” level application in the.NET 8 plus MongoDB stack. Let’s get to it!
Prerequisites
Before we begin, ensure you have the following installed on your machine:
- Docker -.NET SDK (I’m using dotnet 8)
Step 1: Dockerize MongoDB
First off, let’s get MongoDB up and running inside a Docker container. Just run this command (assuming you have docker installed and running)
|
|
You should see output similar to this:
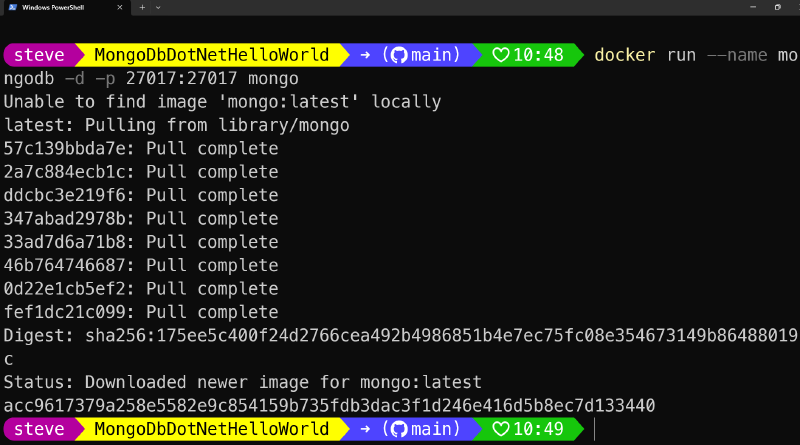
This command sets up MongoDB in a container, mapping the default MongoDB port to the same on your host, making it accessible to your application.
Step 2: Scaffold a.NET Core Console Application
Now, let’s create our.NET application:
|
|
Don’t forget to add MongoDB’s driver to your project:
|
|
Step 3: The Application Code
Here’s where the magic happens. Replace the Program.cs content with the following:
|
|
This snippet demonstrates connecting to MongoDB, inserting, and then reading documents back. Simple, yet powerful! I also included the code for clearing out the collection, so that you can run this multiple times and get the same result each time.
Step 4: Run Your Application
To see your application in action, run:
|
|
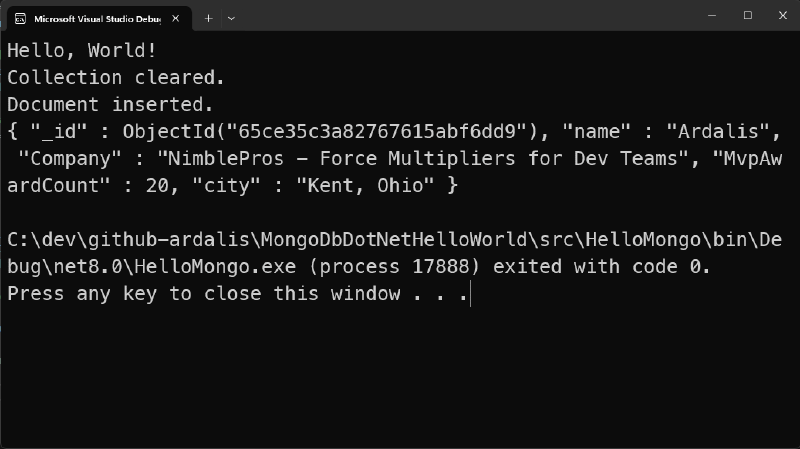
Voilà! You’ve just integrated a.NET Core application with MongoDB, all running smoothly with Docker. You should see something like this:
Step 5: Cleaning Up
After you’re done, don’t forget to clean up your Docker environment:
|
|
And that’s it! You’ve now got a solid foundation for integrating.NET Core applications with MongoDB.
Get the Code
You can grab the latest version of the code directly from its GitHub repo.
References
Keep Improving!
P.S. If you’re looking to improve as a software developer, you may wish to join thousands of other developers who get my newsletter each week. Sign up here!